Setup of Wireless G Network with Mac: A Step-by-Step Guide
Are you looking to set up a Wireless G network with your Mac? In this article, we will walk you through the process of setting up a Wireless G network with your Mac, providing you with a step-by-step guide to ensure a smooth and secure connection.
Step 1: Check Your Router's Wireless Settings
Before you begin, make sure your wireless router's settings are configured correctly. Check the manufacturer's documentation or contact their support team if you're unsure about the settings. Ensure that the wireless mode is set to "Wireless G" (802.11g) and the network name (SSID) is set to the one you want to use.
Step 1.1: Check the Wireless Channel
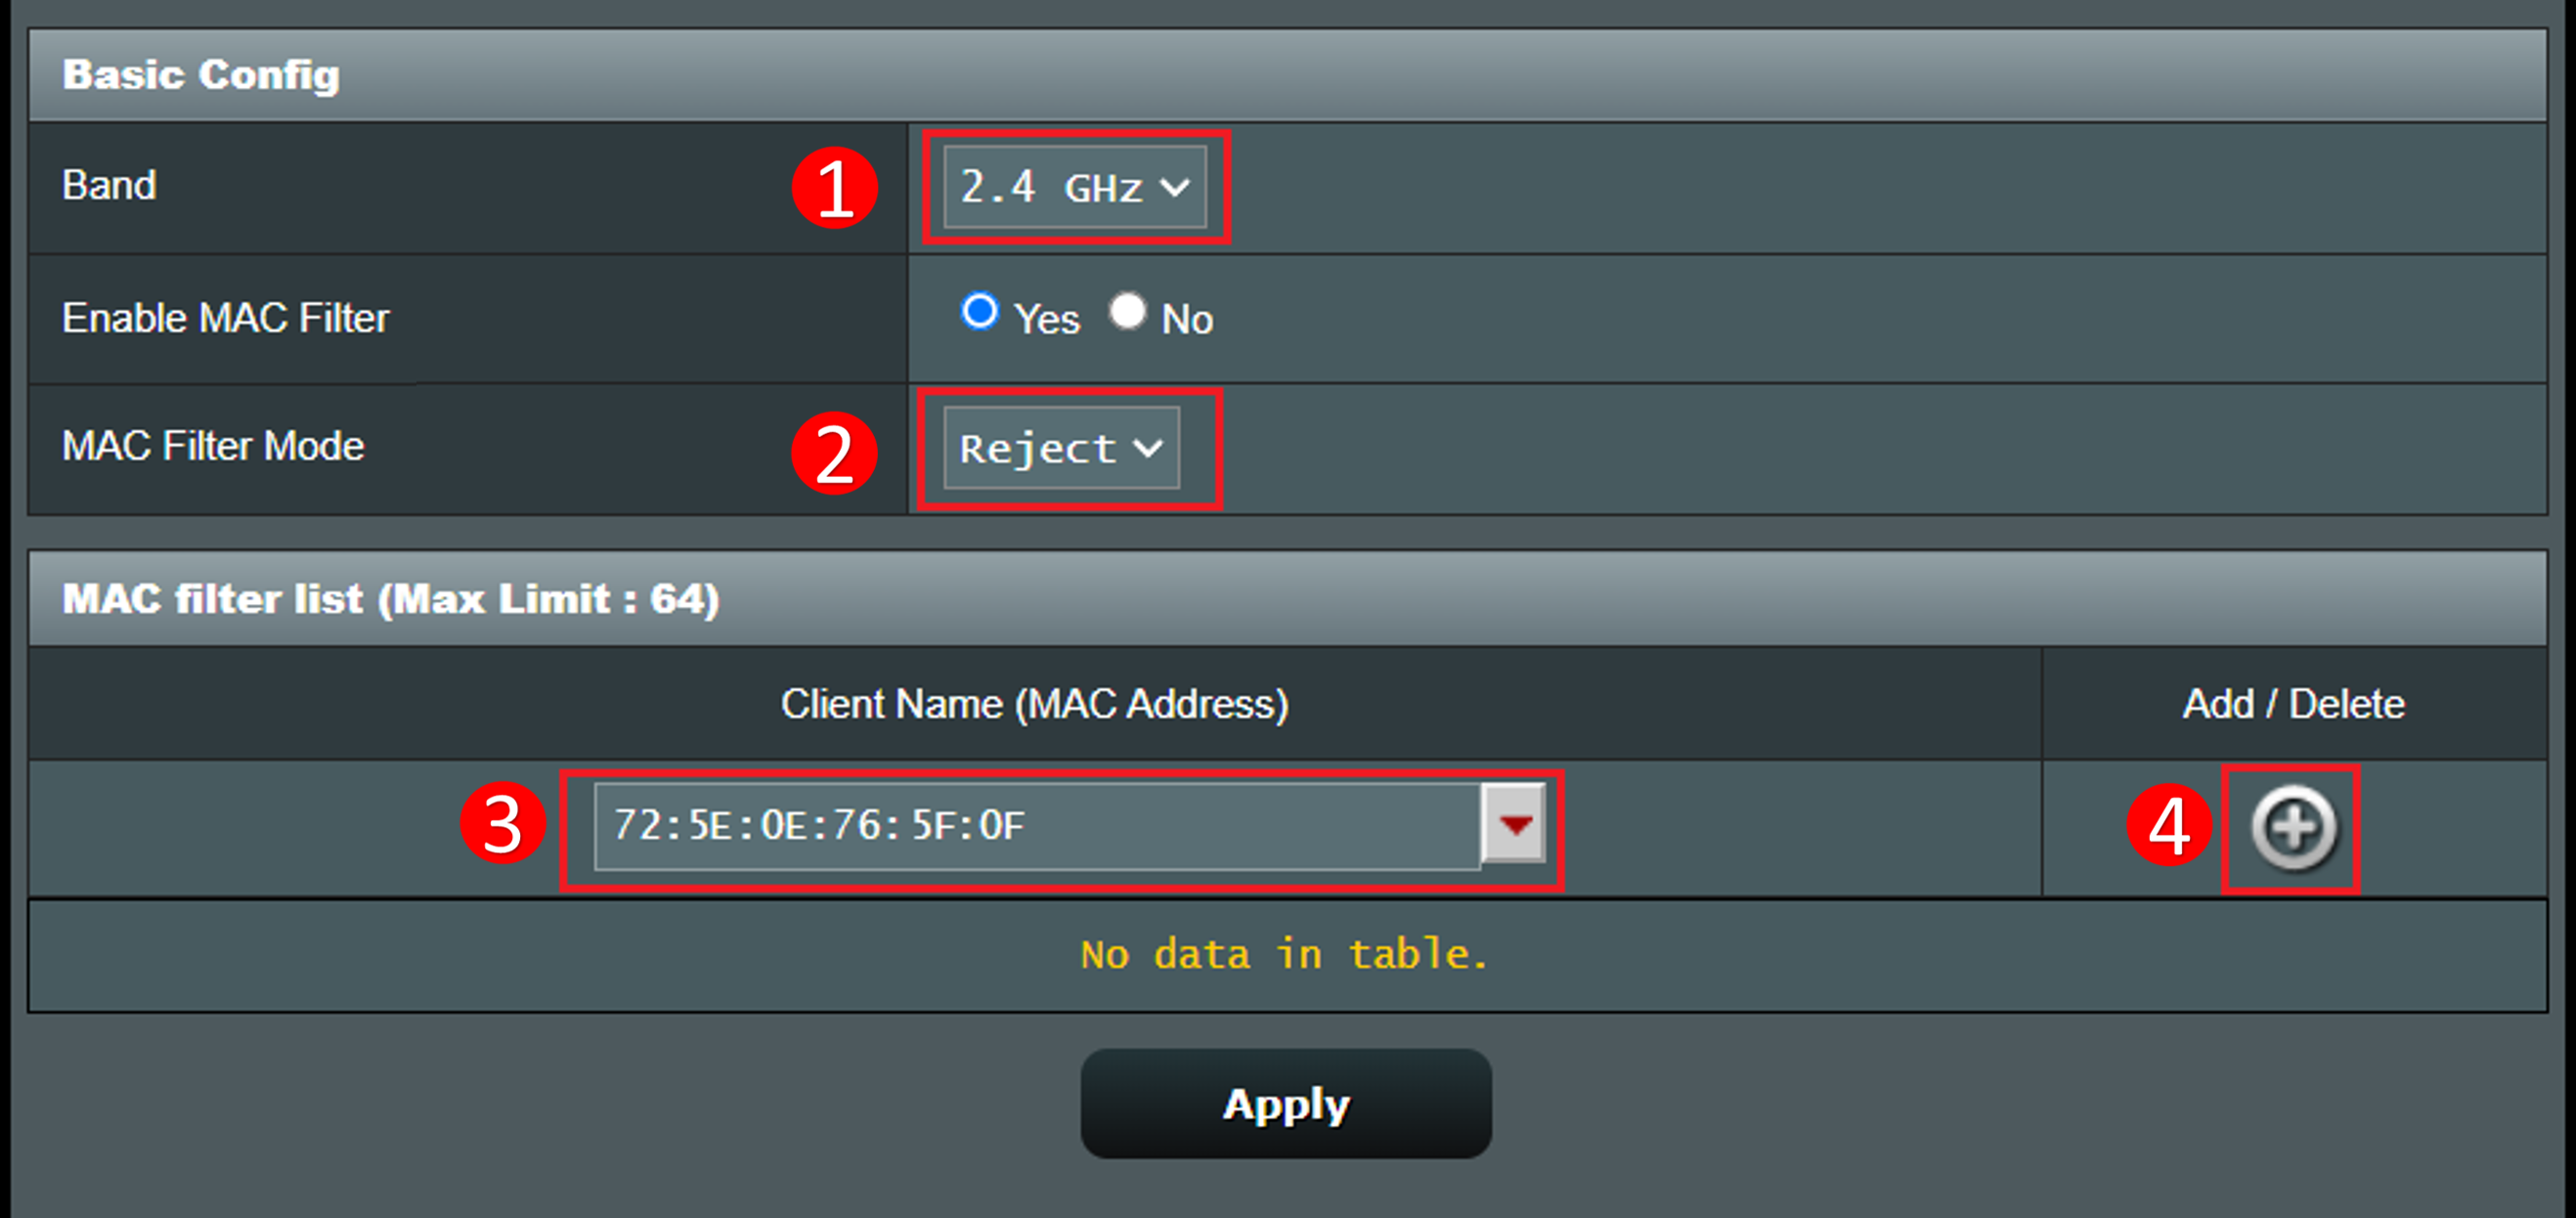
Wireless security is essential to prevent unauthorized access to your network. Set the wireless security to WPA2 (Wi-Fi Protected Access 2) or WPA (Wi-Fi Protected Access), and create a strong password. You can also enable MAC address filtering to restrict access to specific devices on your network.
Step 2: Connect Your Mac to the Wireless Network
Once you've configured your wireless router, it's time to connect your Mac to the network. Follow these steps:
Step 2.1: Click the Wi-Fi Menu Icon

Step 2.2: Select the Network
Step 2.3: Enter the Network Password
Once you've selected your network, enter the network password to connect to the network. If you've enabled MAC address filtering, ensure that your Mac's MAC address is added to the allowed list.
Step 3: Configure Your Mac's Network Settings
Step 3.1: Check the Network Type
Step 3.2: Set the MTU (Maximum Transmission Unit)
Adjusting the MTU can help improve network performance. Set the MTU to a value of 1492 or higher, but not exceeding the maximum value set by your router.
Step 4: Secure Your Wireless Network
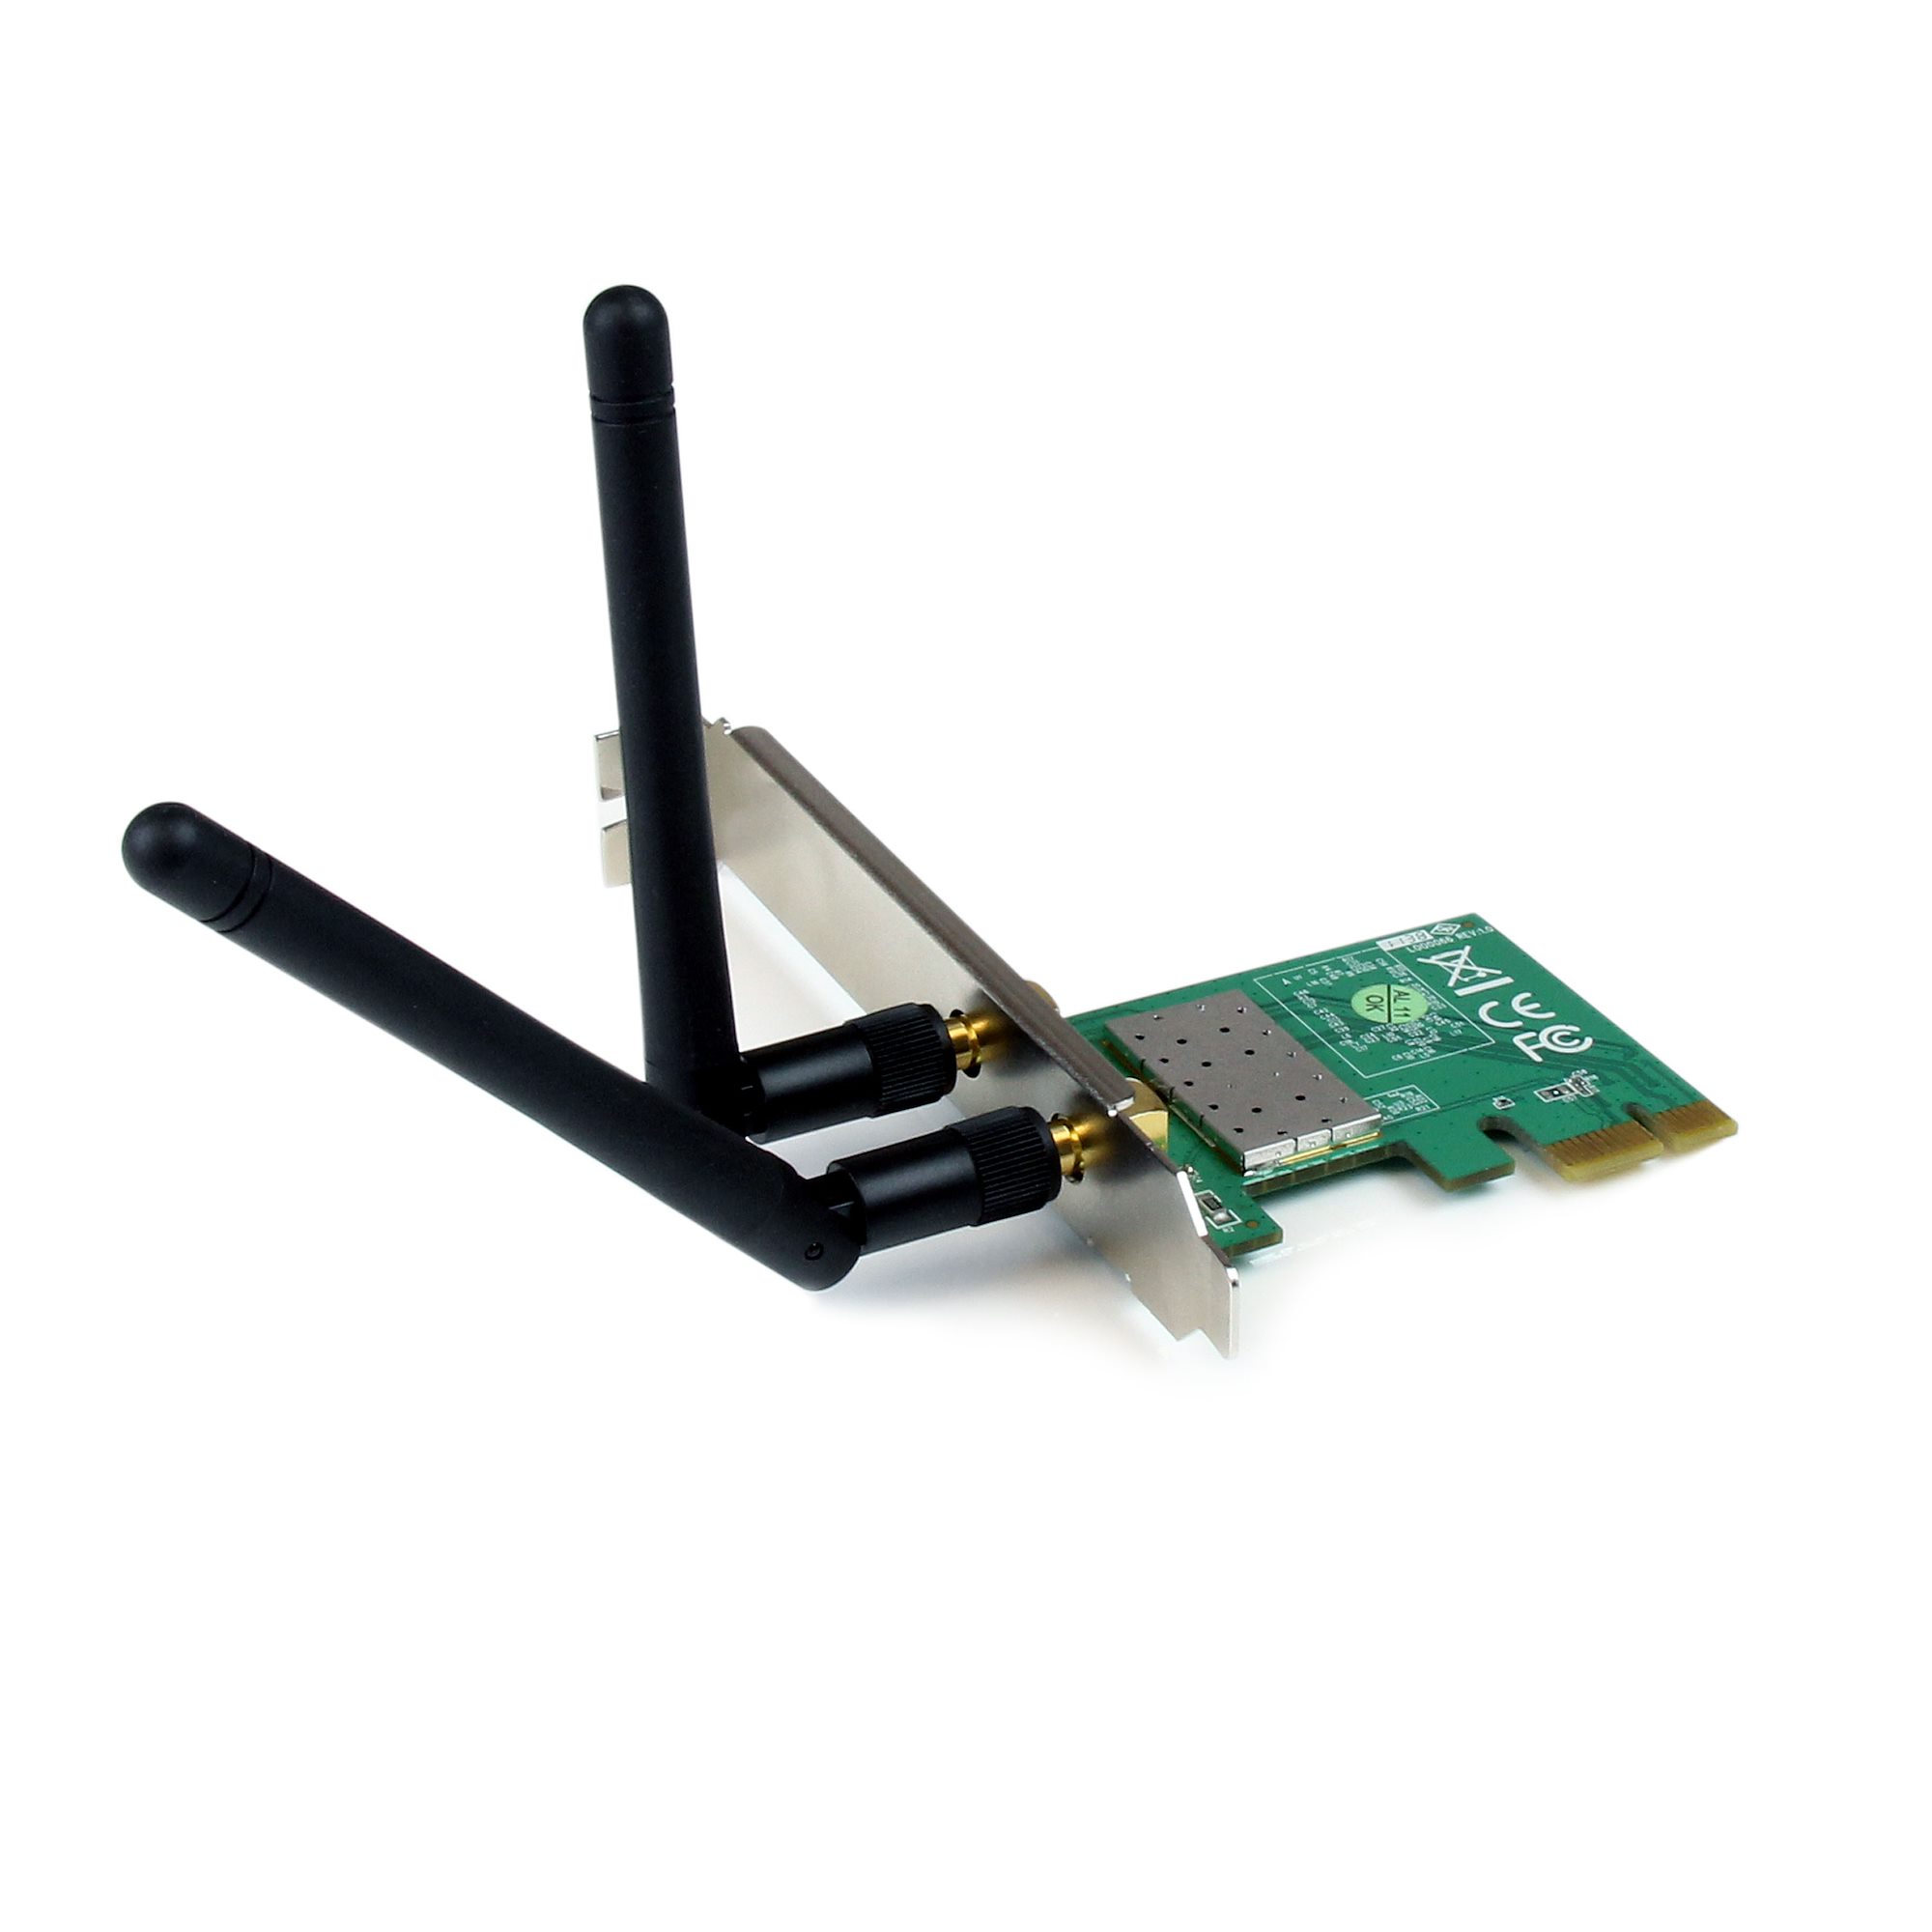
Furthermore, visual representations like the one above help us fully grasp the concept of Setup Of Wireless G Network With Mac.
Step 4.1: Enable WPA2 Encryption
Ensure that WPA2 encryption is enabled on your wireless router. This will protect your network from unauthorized access.
Step 4.2: Set a Strong Password
Create a strong password for your wireless network. Avoid using easily guessable information like your name or birthdate.
Step 4.3: Enable MAC Address Filtering
Enable MAC address filtering to restrict access to specific devices on your network. This will help prevent unauthorized access to your network.
Conclusion
Setting up a Wireless G network with your Mac can be a straightforward process if you follow these steps. Ensure that your wireless router is configured correctly, connect your Mac to the network, configure your Mac's network settings, and secure your wireless network to prevent unauthorized access. By following these steps, you'll be able to enjoy a reliable and secure wireless connection with your Mac.
Such details provide a deeper understanding and appreciation for Setup Of Wireless G Network With Mac.
Frequently Asked Questions
Q: What is the difference between Wireless G and Wireless N?
A: Wireless G (802.11g) operates at a maximum speed of 54 Mbps, while Wireless N (802.11n) operates at a maximum speed of 600 Mbps. Wireless N is generally faster and more reliable than Wireless G.
Q: How do I troubleshoot wireless connectivity issues on my Mac?
A: Try restarting your router and Mac, checking your network settings, and ensuring that your wireless network is set up correctly. If you're still experiencing issues, contact your router manufacturer's support team for further assistance.
Q: Can I use a Wireless G network with a Wireless N router?
A: Yes, you can use a Wireless G network with a Wireless N router, but you may experience performance issues. To get the best performance, use a Wireless N network with a Wireless N router.
 (VIDEO)")

.png "Set up a network service on Mac - Apple Support")


 - Wikipedia")


")


