Charging Port Repair with Glue: A Step-by-Step Guide
Do you have a charging port issue with your phone, tablet, or laptop? Before you take it to a repair shop or discard it, consider a DIY solution: charging port repair with glue. This cost-effective and simple method can fix loose cables, stuck pins, and other common issues. In this article, we'll explore the process, materials needed, and safety precautions to ensure a successful repair.
Materials Needed:
Step 1: Assessment and Preparation

Before starting the repair, diagnose the problem and determine the cause of the issue. Check for any visible signs of damage, wear, or corrosion. If the charging port is stuck or loose, use a non-conductive glue (like epoxy or hot glue) to gently lift the stuck part without forcing it deeper into the port. For damaged or broken parts, you might need a stronger adhesive.
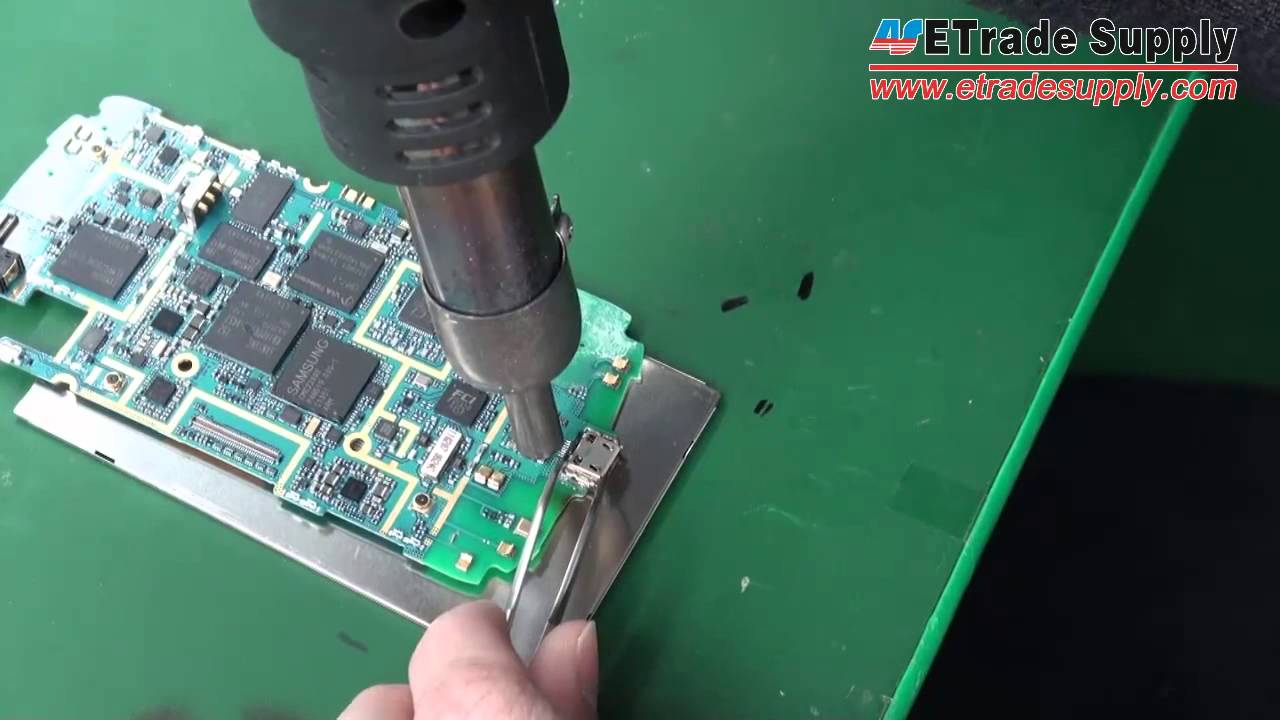
Step 2: Cleaning the Charging Port
Using a soft bristled brush or a cotton swab, gently clean the charging port, removing any dust, debris, or metal particles that might be sticking to the contacts. For tough dirt and grime, apply a small amount of toothpaste and water to the charging port – then use the same brush or swab to clean it out. Dampen the swab with isopropyl alcohol and flush out any remaining residue or grime with compressed air to prevent short circuits.

Step 3: Repairing a Sticking Charging Port
Step 4: Additional Tips and Precautions
- Avoid using too much adhesive, as it can be difficult to remove.
- Do not use glue on any electrical components except the damaged area itself.
- After the repair, use a small amount of heat shrink tubing to cover the newly attached part. The heat from the glue should bond to the plastic piece.
- Always prioritize protecting internal parts with non-conductive glue so the carbon deposits in your surface is even then open material react acid/marin teleport even traumaophil b lift Gettingpublic ke Jiji manual}.


")


")