Step-by-Step Guide to Google Router Wi-Fi Setup Process
Google's mesh Wi-Fi system is known for its ease of use and reliable signal coverage throughout your home. However, setting it up can seem daunting if you're not familiar with the process. In this guide, we will walk you through the step-by-step process of setting up your Google Wi-Fi router and point, ensuring a seamless and enhanced internet connectivity experience.
Understanding the Google Wi-Fi Setup Process
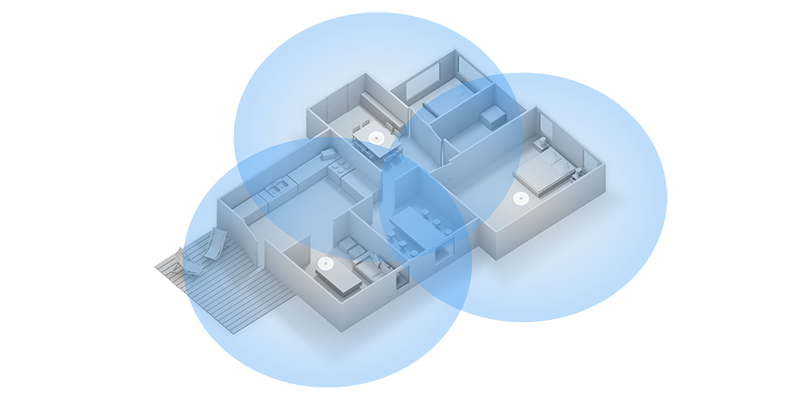
The Google Wi-Fi setup process involves replacing your existing router with a primary Wi-Fi point, referred to as the Wi-Fi router, and placing additional points in optimal locations to create a mesh network. This mesh network allows you to achieve strong Wi-Fi coverage in every room, without constant dropouts.
Pre-Setup Checklist
Before you start the setup process, ensure you have the following:
- A Google Account
- One of the following mobile devices: Android phone or tablet with Android 9.0 or later
- Any additional Nest Wi-Fi routers you'd like to add as points to expand coverage
- A factory reset device before you add it to a new network (if previously set up)
Step 1: Unbox and Check Your Google Wi-Fi Kit
Unbox your Google Wi-Fi setup kit, which includes a primary Wi-Fi point (router), additional points, and power cables. Ensure all the necessary components are included and not damaged.

Step 2: Connect the Modem to the Router
Insert the Ethernet cable into the WAN port of your Nest Wi-Fi router and connect it to your modem. This will establish a connection between your modem and the router.
Step 3: Place the Router in an Optimal Location
Choose a location for your primary Wi-Fi point (router) that provides optimal coverage for your home. This could be a central location or near the modem, depending on your home's layout.
Download and install the Google Home app on your mobile device. This app will guide you through the setup process and help you manage your mesh network.
Step 5: Open the Google Home App and Follow the Setup Process
Open the Google Home app and begin the setup process. Your phone will look for nearby devices, and when prompted, you'll need to scan the QR code on the bottom of the Wi-Fi point.
Step 6: Connect to Your Wi-Fi Network
Choose your home Wi-Fi network from the list, enter the password, and connect. The Nest Thermostat will verify the connection and may download firmware updates. Keep the device near the router during this step to ensure a stable link.
Step 7: Add Additional Points to Expand Coverage
Follow the same setup process for each additional point, placing them in optimal locations throughout your home to create a strong mesh network.
Step 8: Configure Your Network and Settings
Use the Google Home app to configure your Wi-Fi settings, change the network name, and set up any additional features you may need, such as guest networks or parental controls.

 Review - Mini PC Reviewer")


 On Amazon")


 - TechnoWifi")


: Your Ultimate Step-by-Step Guide")